
Every completed diamond painting carries a quiet sense of triumph. Thousands of tiny resin drills come together like fragments of light, forming a piece that feels almost alive under the right angle. The final challenge, however, begins after the last gem is placed. How do you protect that shimmer without muting the very brilliance that makes the artwork mesmerizing?
This is where many artists hesitate. A poorly applied sealer can leave behind cloudy streaks, flatten the reflective surface, or create a plastic-like finish that steals the magic. The secret is not just using a sealer—it is applying diamond art sealer with the precision of a conservator protecting fine art.
In this expert guide, you will learn how to preserve the radiance of your masterpiece while ensuring long-term durability, especially when working with the best diamond painting kits that deserve a flawless finish.
Why Sealing Diamond Art Matters?
Diamond paintings are designed to sparkle because each drill catches and reflects light individually. Over time, dust, moisture, and accidental touch can weaken the adhesive and loosen the stones. Sealing helps lock every drill into place and protects your work from environmental wear.
The challenge is that too much product, or the wrong type of sealant, can coat the facets of the drills and reduce their reflective quality. This is why professional artists focus on technique rather than simply choosing any diamond art sealer available.
A properly sealed canvas should:
- Keep drills firmly attached.
- Protect against dust and humidity.
- Maintain flexibility if stored.
- Preserve maximum shine.
- Extend the life of premium artworks made from the best diamond painting kits.
The Secret to Preserving Sparkle Starts Before Sealing
1) Secure Loose Drills First The brilliance of your artwork depends on preparation. Before opening your diamond art sealer, inspect the entire surface carefully.
Use a roller or a flat book to gently press down the drills. This ensures every gem is fully bonded to the adhesive.
2) Remove Dust and Wax Residue
A soft dry brush or microfiber cloth helps lift lint, dust, and leftover wax. Even tiny particles can become trapped under the sealant and create a dull finish.
3) Check for Uneven Rows
Straighten any misplaced drills with tweezers. Once the diamond art sealer dries, corrections become difficult.
This preparation stage builds anticipation in the process—the artwork is almost ready for its final transformation, and the next step determines whether it becomes simply finished or gallery-worthy.
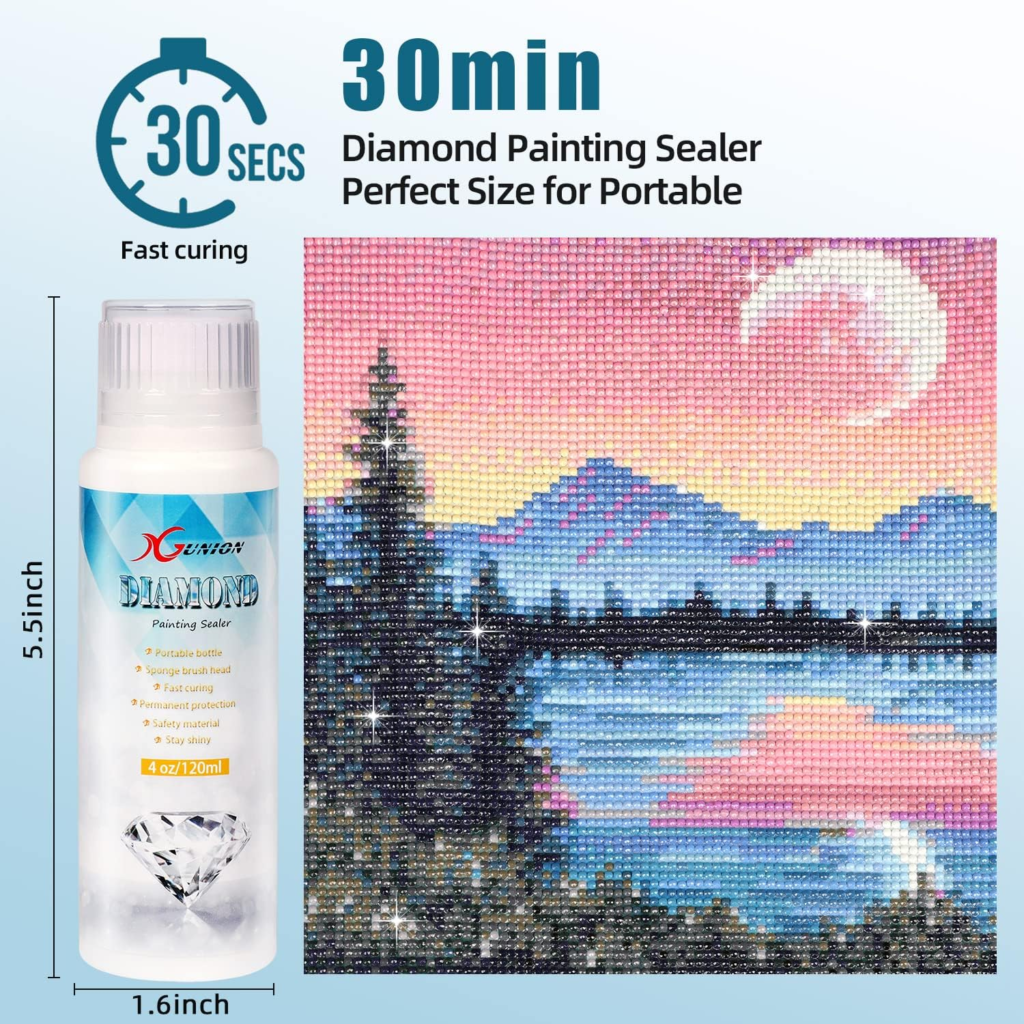
Choosing the Right diamond art sealer
Not all sealers are created equal. The best choice depends on how you want the finished piece to look.
Brush-On Sealers
These are the most popular because they allow precise application. They work beautifully on projects from the best diamond painting kits when used sparingly.
Spray Sealers
A spray formula offers a light protective layer and often preserves more shine. However, uneven spraying can leave patches.
Gloss vs Matte
Always choose gloss or clear finish products. Matte sealers are the biggest reason diamond paintings lose their brilliance.
For most professional results, a high-quality gloss diamond art sealer is the safest option.
Step-by-Step: How to Apply diamond Art Sealer Without Dulling Shine
The most important part of this process is applying thin, controlled layers.
Step 1: Use a Soft Brush or Applicator
Choose a soft flat brush, foam brush, or sponge applicator. Hard bristles can drag drills out of place.
Step 2: Apply a Thin Coat
Dip lightly into the diamond art sealer and spread a minimal amount across the surface.
The trick is to coat the edges and gaps around the drills rather than flooding the top facets.
Step 3: Work in Small Sections
Divide the canvas into manageable areas. This keeps the sealant even and prevents overapplication.
Step 4: Wipe Excess Immediately
If you notice pooling on top of the drills, gently dab it with a lint-free cloth before it dries.
Step 5: Let It Dry Naturally
Lay the canvas flat in a dust-free room. Avoid fans or direct sunlight, as quick drying may cause streaking.
This moment is where patience becomes part of the art. The suspense of waiting for the final reveal keeps creators invested, and when the light hits the dried canvas, the reward is worth it.
Common Mistakes That Dull the Sparkle
Even experienced crafters can accidentally reduce shine. Avoid these common issues:
Overloading the Brush
Too much diamond art sealer creates a thick film over the facets.
Using Matte Products
This instantly softens the reflective effect.
Applying Multiple Heavy Layers
One thin layer is usually enough, especially for premium designs from the best diamond painting kits.
Not Testing First
Always test on a small corner before sealing the entire piece.
Drying in Dusty Spaces
Dust trapped in wet sealant creates haze.
Professional Tips for a Glass-Like Finish
Experts treat diamond painting sealing like finishing a luxury piece of décor.
- Use a gloss sealer with self-leveling properties.
- Apply in one direction for consistency.
- Use natural daylight to check streaks.
- Avoid touching the drills while drying.
- Store flat for 24 hours after sealing.
These small professional habits make a major difference, especially if your artwork comes from the best diamond painting kits, where detail and brilliance are meant to stand out.
Should Every Diamond Painting Be Sealed?
Interestingly, not every project needs sealing.
If you plan to frame the artwork behind glass, sealing may not always be necessary. The frame itself offers excellent protection.
However, for wall hangings, gifts, or frequently handled pieces, diamond art sealer is highly recommended.
Large premium canvases, especially those from the best diamond painting kits, benefit the most because they are often displayed as statement décor.
Final Thoughts
The beauty of diamond painting lies in its luminous finish—the dance of light across every tiny facet. Sealing should never silence that brilliance. Instead, it should act like an invisible shield, preserving the glow while protecting the structure beneath.
The true artistry lies in restraint: a thin layer, the right finish, and a patient hand. When done professionally, diamond art sealer enhances durability while allowing every crystal to shine as vividly as the day it was placed.
For artists investing time into the best diamond painting kits, mastering this finishing technique ensures every masterpiece remains radiant for years to come.